Register your team
Invite your teammates

Open “User menu” and choose “Administration”. Register your team members in turn - enter their data and give them functional roles.
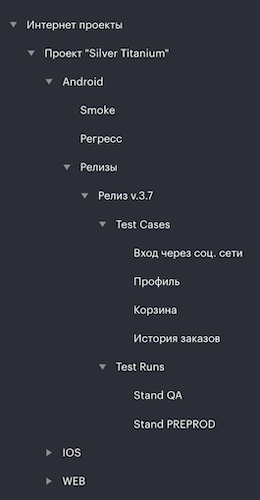
Creation of project structure
Build “project tree” by adding folders (New Folder button). Working with tree allows you:
We recommend you stick to the further structure:
Data Import
Import your test cases from any system
Download CSV-example file
Fill in the CSV-file with your data
Import data by matching file and system fields
Make sure that import process is over: you will receive a notification on your screen
Attention: CSV-file must contain “;” and appropriate titles
Contact Support Service in case if you need
Integration with Issue Tracker
Open “User menu” and choose “Integration”
In the “Issue tracker” drop-down list choose required integration, e.g. Jira
Enter a link to the integrated system, user data and press “Connect” button
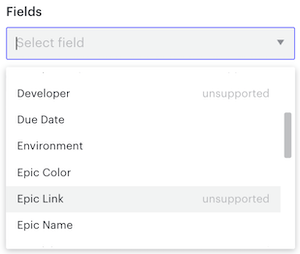
Attention: In “Fields” choose required fields for interaction with integrated system
Case creation and editing
Go to “Finder” tab
Choose the folder where to create a case and press “New case” button
Fill in the fields in the test case card:
— Name
— Tags
— Priority
— Preconditions
— Description, Expected result, Steps
— Attachments
You can create new test case based on the current with Duplicate Card button
You can copy link to that test case Copy path button
Create a test run
Go to “Delivery” tab
Choose the folder where to create new test run and then press “New run” button
Fill in the fields in the card:
— Name
— Assign to
— Due date
— Priority
Choose needed test cases on the project tree and press “Save” button
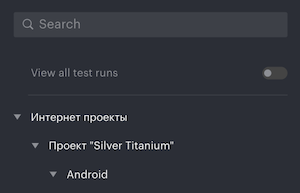
Created test run will be shown in the chosen catalogue (in the “Delivery” tab). To view all created test cases independently of catalogue, choose “View all test runs” button above the project tree.
Created test run will appear in the “Delivery” tab. To view all test cases press “View all test runs” button above the project tree.
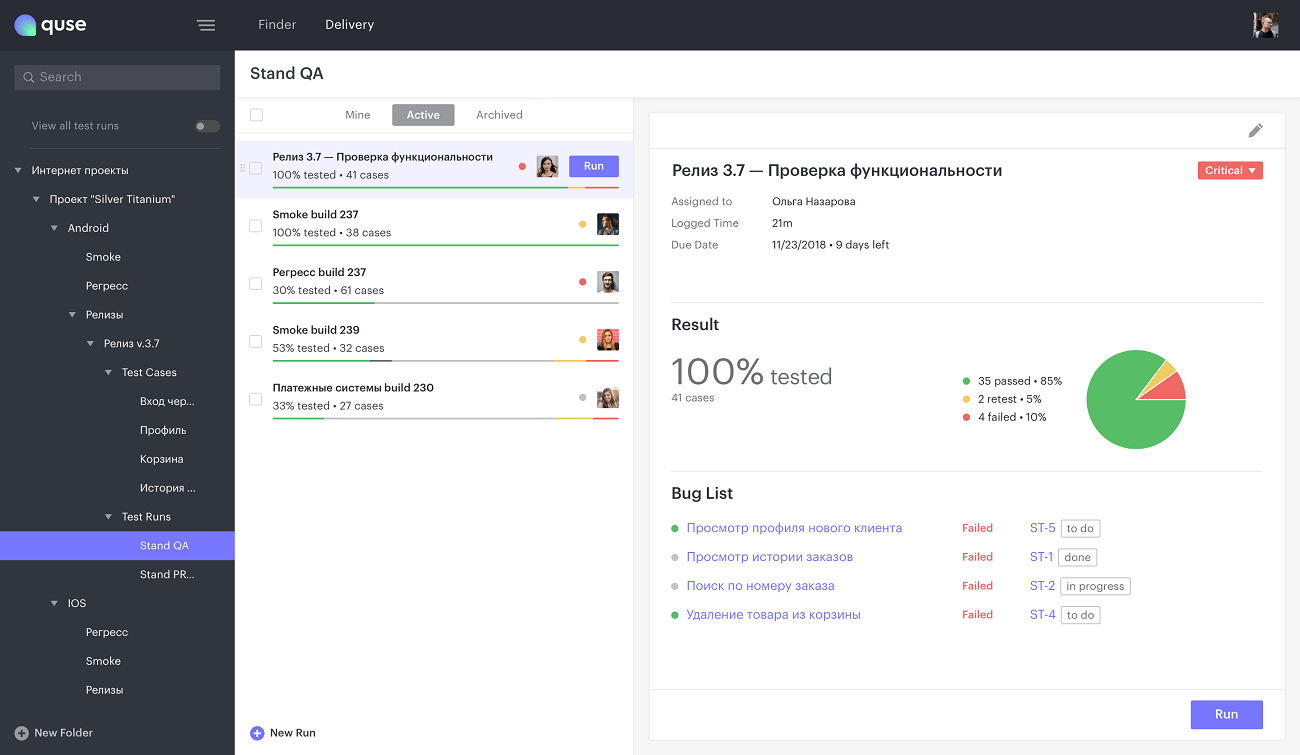
Pass test run
Go to “Delivery" tab
Choose folder with the needed test run
Go into the test run by pressing “Run” button (on the right, appears when pointed with a cursor)
Choose test case and run the to-do-list described in the window on the right
- Read and perform every step described. In the end you should give the appropriate status to every done step: Passed, Failed, Retest or Blocked
- As all the steps are done, issue the report in the “Actual Results”
- A brief description of the passage (Result)
- Bug-URL, if there is no issue tracker integration set up
- Passage time in minutes
- Press “Add result” button
- Go to the next test case to pass it
Establish bug in Issue Tracker
You can add issue in the side issue tracker if you have no Issue Tracker integration set up. To add the issue you should press “Name of your integration” button and fill in the given fields. When you press “Submit”, issue number will automatically assign to “Issue link” field.
Feedback
If you have difficulties or bugs in the system, contact us. Use “Report a Bug” form.